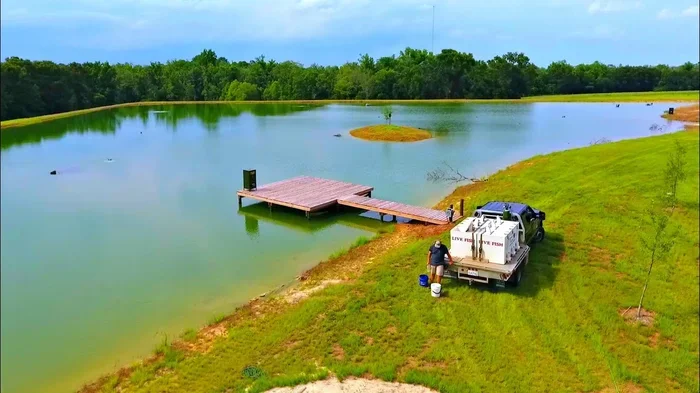
How to Set Up a Fishing Rod with Hook and Sinker Like a Pro
Setting up a fishing rod with a hook and sinker is one of the most essential skills every angler needs to master. This complete guide walks you through every step — from choosing the right tackle to tying secure knots — so you can hit the water with confidence and start catching fish on your very first cast.
There is something deeply satisfying about the moment your line hits the water, and you know everything is set up right. But if you have ever stood on a bank feeling completely lost, staring at a tangle of hooks, sinkers, and fishing line — you are not alone. Learning how to set up a fishing rod with a hook and sinker is the foundation of successful fishing, and it is much easier than most people think.
Whether you are a complete beginner picking up a rod for the first time or an angler looking to sharpen your rigging skills, this guide has you covered. We will walk through every single step in plain, simple language so you can rig your rod like a seasoned pro. By the end of this article, you will know exactly which tackle to pick, how to tie rock-solid knots, and how to choose the perfect setup for any fishing situation. Let’s get started.
- Choose the right hook size: Match your hook to the species you’re targeting and the bait you’re planning to use for the best results.
- Select proper sinker weight: Lighter sinkers work in calm water, while heavier sinkers are needed for currents and deeper water.
- Master essential knots: The improved clinch knot and Palomar knot are the most reliable connections for hooks and sinkers.
- Understand rig types: Bobber rigs, bottom rigs, and slip sinker rigs each serve different fishing situations and depths.
- Position matters: Where you place the sinker and bobber on your line directly affects bait presentation and bite detection.
- Check your gear regularly: Inspect hooks for sharpness, knots for strength, and sinkers for secure attachment before every cast.
- Practice makes perfect: Spend time rigging at home so you can set up quickly and efficiently on the water.
📑 Table of Contents
- Understanding the Basic Components of a Fishing Rig
- Essential Knots Every Angler Must Know
- How to Set Up a Basic Bobber Rig
- How to Set Up a Bottom Rig (Carolina Rig)
- How to Set Up a Slip Sinker Rig
- Choosing the Right Hook and Sinker Combination for Your Target Species
- Common Mistakes to Avoid When Setting Up Your Rod
- Pro Tips for Rigging Like a Seasoned Angler
- Conclusion
Understanding the Basic Components of a Fishing Rig
Before you start tying anything together, it helps to understand the individual pieces that make up a fishing rig. Each component plays a specific role, and knowing what each one does will make the whole setup process feel intuitive rather than confusing.
The Fishing Rod and Reel
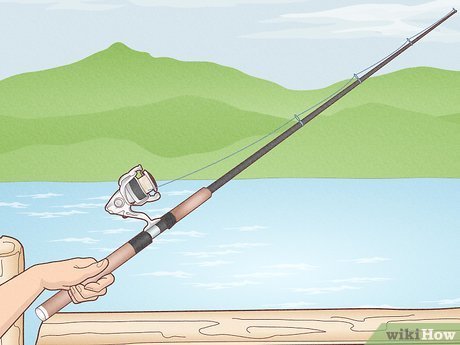
Your rod and reel are the backbone of your entire setup. The rod gives you casting distance and leverage to fight fish, while the reel stores your line and helps you retrieve it smoothly. For most beginners, a medium-action spinning rod paired with a spinning reel is the easiest combination to learn with. It is forgiving, versatile, and works well in both freshwater and saltwater environments.
When selecting a rod, pay attention to the line weight and lure weight ratings printed on the blank. These numbers tell you what size line and how heavy a lure or sinker the rod is designed to handle. Using the wrong combination can lead to poor casting performance or even a broken rod.
Fishing Line
Fishing line connects everything. The three main types are monofilament, fluorocarbon, and braided line. Monofilament is stretchy, affordable, and easy to tie — making it the best choice for beginners. Fluorocarbon is nearly invisible underwater and works great as a leader material. Braided line is incredibly strong and sensitive, but requires specific knots to hold properly.
For a standard hook and sinker setup, 8 to 12-pound monofilament line works perfectly for most freshwater species. If you are targeting larger fish or fishing around heavy cover, step up to braided line with a fluorocarbon leader.
Hooks
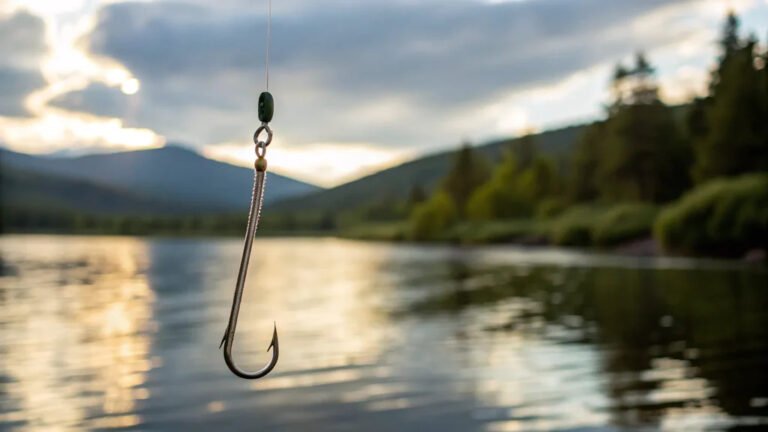
Hooks come in a dizzying array of sizes, shapes, and styles. The most common types you will encounter are J-hooks, circle hooks, and treble hooks. J-hooks are the traditional choice and work well with live bait. Circle hooks are designed to hook fish in the corner of the mouth, making them ideal for catch-and-release fishing. Treble hooks are typically found on lures rather than bait rigs.
Hook size is measured numerically. Smaller numbers mean larger hooks — so a size 1 hook is much bigger than a size 10. For panfish like bluegill and crappie, use sizes 6 to 10. For bass and catfish, sizes 1/0 to 3/0 work well. Always keep a variety pack on hand so you can adapt to different fishing conditions.
Sinkers
Sinkers — also called weights — serve two main purposes. They help your bait sink to the desired depth and add casting distance to your rig. The most common types include split shot, egg sinkers, bullet weights, and bank sinkers.
Split shot sinkers are small, round weights that pinch onto your line. They are perfect for lightweight rigs and are easy to add or remove. Egg sinkers slide freely along your line and are essential for slip sinker rigs. Bullet weights are popular for weedless setups in bass fishing. Bank sinkers are heavy, flat weights designed for holding bottom in strong currents.
Bobbers and Other Accessories
If you want to suspend your bait at a specific depth, you will need a bobber — also called a float. Bobbers signal when a fish bites by dipping below the surface or bobbing erratically. Round clip-on bobbers are the simplest to use, while slip bobbers allow you to fish at greater depths without changing your entire rig.
You might also want to add small beads between your sinker and swivel to protect your knot from damage and add a subtle visual or auditory attraction for curious fish.
Essential Knots Every Angler Must Know
Visual guide about fishing rod rig setup
Image source: i.pinimg.com
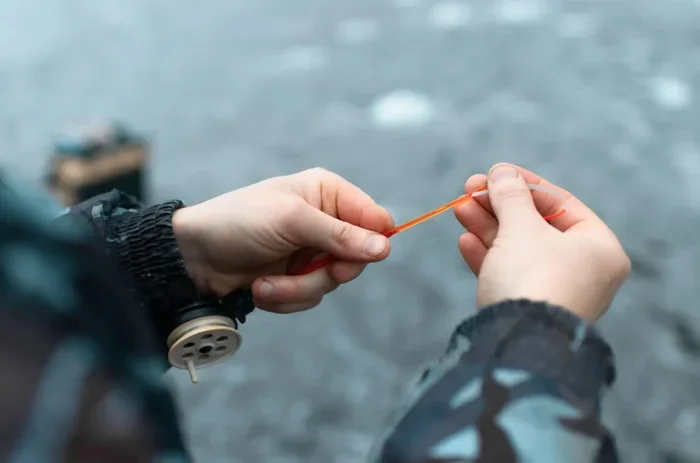
A beautifully rigged rod means absolutely nothing if your knots fail. Learning two or three reliable knots will cover the vast majority of fishing situations you will encounter. Take the time to practice these at home — it will save you frustration and lost fish on the water.
The Improved Clinch Knot
This is the most popular knot for attaching a hook to your line. It is strong, easy to tie, and works with monofilament and fluorocarbon line. Here is how to tie it step by step:
- Thread about 6 inches of line through the hook eye.
- Tag the line back alongside the standing line and wrap it around itself 5 to 7 times.
- Pass the tag end through the small loop near the hook eye.
- Then pass it through the larger loop you just created.
- Moisten the knot with saliva or water and pull tight.
- Trim the excess tag end with scissors or nail clippers.
The improved clinch knot retains about 95 percent of your line strength when tied correctly. Always give it a firm tug before casting to make sure it is secure.
The Palomar Knot
Many experienced anglers consider the Palomar knot to be the strongest and most reliable fishing knot ever devised. It works with all line types, including braid, which can be notoriously slippery with other knots. Here is the process:
- Double about 6 inches of line and pass the loop through the hook eye.
- Tie a simple overhand knot with the doubled line — do not tighten it yet.
- Pass the hook through the loop you created.
- Moisten the knot and pull both the standing line and tag end to tighten.
- Trim the tag end close to the knot.
The beauty of the Palomar knot is its simplicity. Even in low light or cold conditions, you can tie it quickly and confidently. If you only learn one knot, make it this one.
The Surgeon’s Knot
The surgeon’s knot is perfect for tying two pieces of line together — like when you want to add a leader to your main line. It is quick, strong, and easy to remember:
- Overlap the two lines you want to join by about 6 inches.
- Tie a simple overhand knot using both lines, but pass the entire doubled line through the loop twice.
- Moisten and pull all four ends to tighten the knot.
- Trim the tag ends.
This knot is especially useful when connecting a fluorocarbon leader to a braided main line.
How to Set Up a Basic Bobber Rig
Visual guide about fishing rod rig setup
Image source: i.pinimg.com
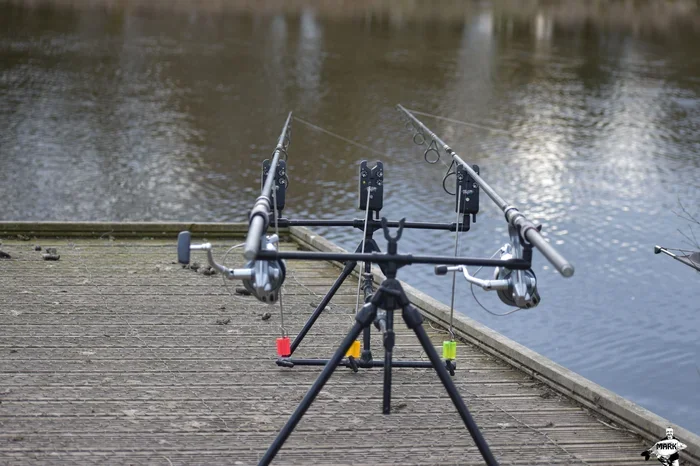
The bobber rig is the classic setup most people picture when they think of fishing. It is simple, effective, and perfect for beginners. This rig suspends your bait at a predetermined depth and gives you a clear visual signal when a fish bites.
Step-by-Step Bobber Rig Setup
Follow these steps to rig a basic bobber setup from scratch:
- Attach your reel to the rod by sliding the reel foot into the reel seat and tightening the locking ring until it is snug and secure.
- Spool your reel with line by threading the line through the rod guides, starting from the tip and working down to the reel. Tie the line to the spool with an arbor knot and begin cranking slowly, keeping tension on the line as you fill the spool. Fill it until the line is about 1/8 inch from the spool rim.
- Tie on your hook at the end of your line using an improved clinch knot or Palomar knot.
- Add split shot sinkers about 6 to 12 inches above the hook. Pinch them onto the line with your fingers or pliers. Start with one or two small split shots and adjust as needed.
- Attach your bobber at the desired depth above the hook. For a clip-on bobber, simply clip it onto the line where you want it. For a slip bobber, thread the line through the bobber and set a bobber stop above it to control depth.
- Bait your hook with live bait like worms, minnows, or artificial bait like soft plastic worms or dough bait.
- Cast out and wait for the bobber to dip, jump, or move sideways — that is your signal to set the hook.
Adjusting Depth and Weight
One of the biggest mistakes beginners make is setting their bait at the wrong depth. Fish often hang at specific levels in the water column depending on the time of day, water temperature, and season. Start by setting your bobber so the bait hangs about 1 to 3 feet below the surface. If you are not getting bites, gradually move the bobber up or down until you find where the fish are feeding.
The split shot sinkers should be just heavy enough to pull the bobber to a slight angle in the water. If your bobber is lying completely flat, add more weight. If it is being pulled under, remove a split shot. For a deeper look at how floats and indicators work in different fishing scenarios, check out this guide on what bobbers are used for in fishing.
How to Set Up a Bottom Rig (Carolina Rig)
Visual guide about fishing rod rig setup
Image source: i.ytimg.com
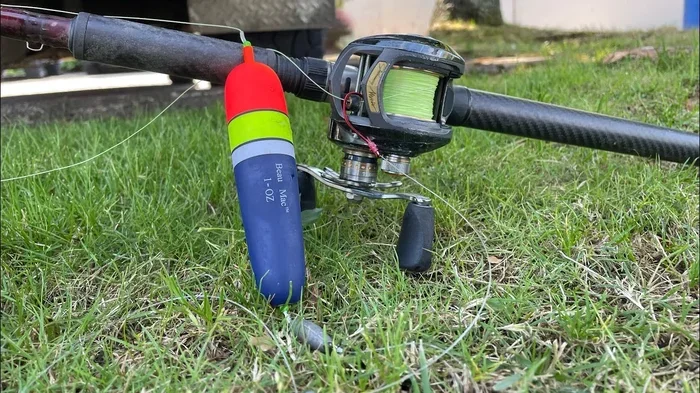
When fish are holding near the bottom — which is often the case with catfish, walleye, and largemouth bass — a bottom rig is your best friend. The Carolina rig is the most popular bottom fishing setup because it presents bait naturally while keeping the sinker on the bottom.
Assembling the Carolina Rig
Here is how to build a Carolina rig from the ground up:
- Slide an egg sinker onto your main line. Use between 1/2 ounce and 2 ounces, depending on depth and current.
- Add a protective bead below the sinker. This prevents the sinker from damaging your knot and adds a subtle clicking sound that can attract fish.
- Tie a barrel swivel to the end of your main line using a clinch knot. The swivel prevents line twist and acts as a stopper for the sinker.
- Tie a fluorocarbon leader to the other end of the swivel. Leader length can vary from 12 inches to 4 feet — longer leaders allow more natural bait movement.
- Tie your hook to the end of the leader using a Palomar or clinch knot.
- Bait your hook and cast out. Let the sinker settle to the bottom, then reel in any slack line until the rod tip has a slight bend.
When to Use a Carolina Rig
The Carolina rig shines in deeper water, around rocky bottoms, and when fish are scattered across wide areas. It is incredibly effective for covering large stretches of water while keeping your bait hovering just above the bottom where hungry fish are cruising. In the summer months, when bass move to deeper structure, this rig consistently produces results when other setups fail.
You can fish a Carolina rig with live bait like shad or nightcrawlers, or with soft plastic lizards, creature baits, and worms. The key is to drag it slowly along the bottom with occasional pauses and gentle lifts of the rod tip.
How to Set Up a Slip Sinker Rig
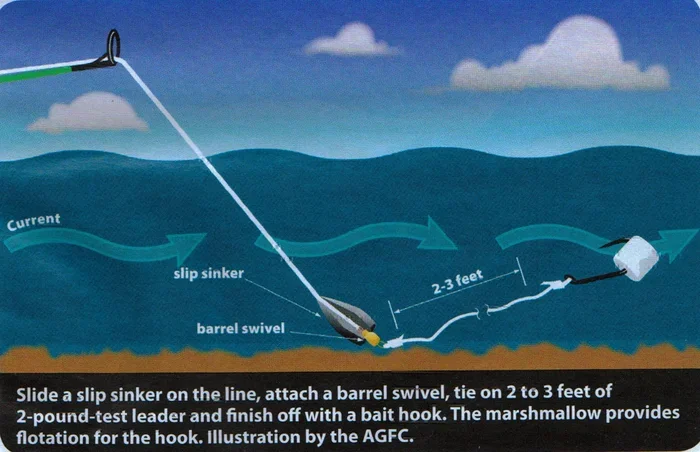
The slip sinker rig — also known as a Lindy rig in some fishing circles — is a variation of the bottom rig that allows fish to take the bait without feeling the weight of the sinker. This is especially important when fishing for wary species like walleye or trout that will spit out bait if they sense resistance.
Building the Slip Sinker Rig
Here is the step-by-step process:
- Thread your main line through an egg sinker. The sinker will slide freely up and down the line.
- Add a bead below the sinker for knot protection.
- Tie a barrel swivel to the end of your line.
- Attach a 3 to 6-foot fluorocarbon leader to the swivel.
- Tie a hook to the end of the leader — a size 4 to 1/0 octopus hook works well for most applications.
- Bait the hook with a leech, nightcrawler, minnow, or other live bait.
- Cast out and let the sinker rest on the bottom while keeping your line slightly taut.
Why the Slip Sinker Rig Is So Effective
When a fish picks up your bait, it can swim away without immediately feeling the weight of the sinker. This gives the fish time to fully take the bait into its mouth before you set the hook. The result is more solid hooksets and fewer missed fish. This rig is a staple technique for walleye anglers and works wonderfully for trout, panfish, and even catfish in certain situations.
Choosing the Right Hook and Sinker Combination for Your Target Species
Not every fishing situation calls for the same setup. Matching your hook size and sinker weight to the species you are targeting will dramatically improve your success rate on the water.
Freshwater Panfish (Bluegill, Crappie, Perch)
Panfish have small mouths, so use small hooks in sizes 6 to 10. A lightweight bobber rig with one or two small split shot sinkers is the perfect setup. Use live worms, crickets, or tiny jigs as bait. Keep everything light and finesse — panfish can be surprisingly delicate biters.
Largemouth and Smallmouth Bass
Bass require a bit more firepower. Use hooks in sizes 1/0 to 3/0 for live bait and slightly larger for soft plastic presentations. A Carolina rig with a 3/4 to 1-ounce egg sinker works great for covering water and probing deeper structure. If you are fishing shallow cover, try a Texas-rigged soft plastic with a bullet weight instead.
Catfish
Catfish are bottom feeders with large mouths and strong fighting ability. Use circle hooks in sizes 2/0 to 5/0 baited with cut bait, chicken liver, or stink bait. A fish finder rig — which is essentially a slip sinker setup — with a 1 to 3-ounce sinker is ideal. Let the catfish take the bait and start moving before you engage the reel and set the hook.
Trout
Trout fishing in streams and rivers calls for a subtle approach. Use small hooks in sizes 8 to 14 and just enough split shot to get your bait down without spooking the fish. A slip sinker rig with a long leader works well in still water, while a simple split shot rig with a small bobber is perfect for moving water.
Common Mistakes to Avoid When Setting Up Your Rod
Even experienced anglers make rigging mistakes from time to time. Here are the most common errors and how to avoid them:
Using the Wrong Size Hook
A hook that is too large will prevent fish from biting effectively. A hook that is too small will not set properly and can tear free during the fight. Always match your hook size to both the species you are targeting and the bait you are using.
Too Much or Too Little Weight
Overweighting your rig will make your bait look unnatural and can spook fish. Underweighting means your bait will not reach the desired depth and will drift with the current. Start with a moderate amount of weight and adjust based on conditions.
Ignoring Knot Quality
A poorly tied knot is the number one reason anglers lose fish. Always moisten your knots before tightening — dry knots create friction heat that weakens the line. Pull every knot firmly and inspect it visually before casting. When in doubt, retie it.
Not Checking Your Gear Before Fishing
Before every trip, run your line through your fingers to check for nicks or abrasions. Test your knots with a firm tug. Make sure your hook is sharp — drag it lightly across your fingernail, and if it does not dig in, replace it or sharpen it with a hook file.
Pro Tips for Rigging Like a Seasoned Angler
Now that you know the basics, here are some expert-level tips that will take your rigging game to the next level:
- Pre-tie rigs at home: Spend 20 minutes before your trip tying extra hooks and leaders. This saves valuable time on the water and means you can quickly swap rigs when conditions change.
- Use quality swivels: Cheap swivels can fail at the worst possible moment. Invest in ball-bearing swivels for reliable anti-twist performance.
- Carry a variety of sinker sizes: Conditions change throughout the day. Having a range of weights from 1/8 ounce to 2 ounces lets you adapt instantly.
- Learn to read the water: Understanding where fish hold — near structure, drop-offs, currents, and shade — will tell you which rig to use and at what depth.
- Keep a rigging kit: A small tackle box with assorted hooks, sinkers, swivels, beads, bobbers, and leader material will cover 95 percent of fishing situations you will encounter.
- Practice your knots: Tie your knots at home in the evening while watching TV. Muscle memory is real, and you will be able to tie them quickly and correctly even in the dark.
For more foundational techniques, this fishing guide for beginners covers the essential knowledge every new angler should have before heading out. And if you want to refine your overall skills, these best fishing tips every angler should know will help you catch more fish regardless of your experience level.
Conclusion
Setting up a fishing rod with a hook and sinker is one of the most fundamental skills in angling, and mastering it will open the door to countless hours of enjoyment on the water. From the simple bobber rig that every child learns on their first fishing trip to the more sophisticated Carolina and slip sinker rigs that seasoned anglers rely on, each setup has its place and purpose.
Remember that the key to success is matching your rig to the species you are targeting and the conditions you are fishing in. Choose the right hook size, select the appropriate sinker weight, tie your knots carefully, and always inspect your gear before casting. With a little practice, rigging your rod will become second nature — something you can do in seconds without even thinking about it.
Now grab your gear, head to your favorite fishing spot, and put these skills to work. The fish are waiting.
Frequently Asked Questions
What is the easiest fishing rig for beginners?
The basic bobber rig is the easiest and most beginner-friendly setup. It requires just a hook, a split shot sinker, and a bobber. Simply tie the hook to your line, add a small weight above it, clip on a bobber at your desired depth, bait the hook, and cast. This rig works great for panfish, trout, and other species that feed at or near the surface.
How far above the hook should I place the sinker?
For most bobber rigs, place the split shot sinker 6 to 12 inches above the hook. For bottom rigs like the Carolina rig, the sinker sits on the main line above a swivel, with the hook on a separate leader 12 inches to 4 feet below. The exact distance depends on the rig type and the depth at which you want your bait to fish.
Which knot is best for tying a hook to fishing line?
The Palomar knot is widely considered the strongest and most reliable knot for attaching a hook. It retains nearly 100 percent of your line strength and works with all line types, including monofilament, fluorocarbon, and braid. The improved clinch knot is another excellent choice and is slightly easier for beginners to learn.
How do I know what size sinker to use?
Your sinker weight depends on water depth, current strength, and casting distance needed. In calm, shallow water, use light split shot sinkers. In deeper water or strong currents, use heavier egg sinkers or bank sinkers ranging from 1/2 ounce to 3 ounces. A good rule of thumb is to use the lightest weight that still gets your bait to the desired depth.
Can I use the same rig for freshwater and saltwater fishing?
The basic rigging principles are the same for both environments, but saltwater fishing typically requires heavier tackle, stronger hooks, and corrosion-resistant hardware. Saltwater fish are often larger and more powerful, so step up your line weight and sinker size accordingly. Also, make sure to rinse your gear thoroughly after every saltwater trip to prevent corrosion.
How do I prevent my line from twisting when using a sinker?
Using a barrel swivel between your main line and leader is the most effective way to prevent line twist. The swivel allows the leader to rotate independently of the main line, which eliminates tangles and twists caused by sinker movement. Always use quality swivels — cheap ones can bind and fail to rotate properly.