How to Make a Fishing Rod from a Stick Like a Pro
Making a fishing rod from a stick is a rewarding way to connect with traditional fishing methods. By selecting the right wood and carefully shaping your pole, you can create a functional tool for catching fish. This guide provides clear steps to build your own simple yet effective equipment.
Fishing is a timeless activity, and learning how to make a fishing rod from a stick connects you to the roots of the craft. Long before modern tackle boxes, anglers relied on simple, natural tools to land their dinner. This guide will walk you through the entire process, from selecting the perfect wood to tying the final knot. You will gain the confidence to create a functional fishing pole using only basic tools and natural materials.
The best part is that this project is straightforward and deeply satisfying. With a little patience and attention to detail, you can produce a working fishing pole that performs surprisingly well. Whether you are preparing for a survival situation or simply enjoying a rustic hobby, this skill adds valuable versatility to your outdoor knowledge. Follow these steps closely, and you will have a reliable stick fishing rod in your hands.
-
- Wood Selection: Choose a strong, flexible hardwood like ash or maple for the best performance and durability.
- Basic Tools: You only need a knife, sandpaper, and some natural cordage to begin crafting your stick rod.
- Shape Matters: Tapering the stick correctly creates the necessary action for casting and absorbing shocks during a fight.
- Line Attachment: Learn reliable knots to secure your fishing line directly to the pole for maximum strength.
- Patience is Key: Take your time with each step, including drying and sealing, to ensure your DIY rod lasts through many seasons.
- Legal Awareness: Always check local regulations to confirm that hand-crafted poles are permitted in your fishing areas.
📑 Table of Contents
Step 1: Choosing the Right Wood
The foundation of any good stick rod is the wood you select. Not every tree branch will work, so it is important to focus on specific characteristics. You need a piece that is strong enough to bend without breaking yet flexible enough to cast a line. The ideal wood is also lightweight for easy handling during long fishing sessions.
Look for hardwoods that offer a combination of strength and flexibility. Ash, maple, and hickory are excellent choices because they handle stress well. Avoid wood that is overly brittle or has visible cracks, as these flaws will compromise the rod’s integrity. Green wood, which is recently cut and still moist, is often easier to shape than fully dried wood.
When foraging for your stick, look for a branch that is about one to two inches in diameter. This size provides the backbone needed for casting power while remaining manageable. Take your time and inspect the wood carefully. A well-chosen stick reduces the risk of breakage and ensures a smoother building process.
Identifying Suitable Trees
Certain tree species are more suitable than others for crafting a fishing pole. Willow, birch, and dogwood are popular among DIY enthusiasts due to their workability. These woods are generally straight-grained, which makes them easier to taper evenly.
Avoid woods with heavy knots or irregular grain patterns. These features create weak points that can snap under pressure. If you are gathering wood from your property, choose healthy branches that show no signs of disease or rot. Healthy wood ensures your fishing rod will last season after season.
Gathering and Preparing the Wood
Once you find a suitable branch, cut it longer than you need. It is easier to trim the rod down to the final length than to add material later. Aim for a length of about six to eight feet to start. This extra length gives you plenty of working material.
Strip the bark off immediately after cutting. Removing the bark prevents insects and moisture from damaging the wood. Use a sharp knife or a small hatchet to carefully peel the bark away. Inspect the wood again once it is bare, looking for any hidden flaws. This initial preparation sets the stage for a successful build.
Step 2: Shaping the Fishing Pole
Shaping is the most critical phase of making a fishing rod from a stick. The goal is to create a smooth taper that gradually decreases in thickness. This taper determines the “action” of the rod, which is how it bends under pressure. A proper taper allows the tip to flex while the handle remains strong.
Start by defining the handle section. This part should be thick and sturdy to provide a solid grip. From there, gradually reduce the thickness as you move toward the tip. The transition should be smooth and even, with no sudden changes in diameter. Take frequent breaks to check your work from different angles.
Tools for Shaping
You do not need advanced tools to shape a stick rod. A sturdy pocketknife or a small hunting knife is the primary tool you will need. Use the blade to whittle away small amounts of wood carefully. Sandpaper or a rough stone can help smooth out any rough patches left by the knife.
For best results, work slowly and methodically. Remove thin slices of wood rather than trying to carve large chunks. If you make a mistake, you can always take more off, but you cannot put wood back. Patience during this stage ensures a balanced and effective fishing pole.
Testing the Taper
As you shape the rod, test the taper by bending it gently with your fingers. The rod should curve smoothly without any stiff spots or kinks. Imagine pulling a line through the water; the bend should feel natural and consistent. Adjust the thickness in problem areas until the flex feels right.
Remember that the tip should be the most flexible part of the rod. This flexibility is essential for casting lightweight lures and detecting subtle bites. The handle should be firm and rigid to withstand the force of large fish. When the rod bends like a wave from tip to handle, you have achieved the correct taper.
Step 3: Adding the Line and Guides
Once your stick is shaped, you need to attach the fishing line. Unlike modern rods with eyelets, a simple stick rod uses a direct attachment method. This technique ties the line directly to the wood, creating a strong and reliable connection. You will also need to add simple guides to control the line’s path.
The most common method involves tying the line to the tip of the rod. From there, you run the line down the length of the rod and secure it at the handle. This layout keeps the line close to the rod, reducing tangles and improving control. Natural materials like plant fiber or strong cordage work well for this process.
Creating Simple Guides
Because a stick rod has no metal guides, you must create your own. You can use small wooden beads or even pieces of bone. Slide these improvised guides onto the line before tying them to the rod. They prevent the line from rubbing against the wood, which reduces wear and tear.
Position these guides strategically along the rod. Place one near the tip, one in the middle, and one near the handle. This spacing keeps the line aligned during casting and retrieval. Simple materials like bark or thin strips of wood can also serve as effective guides.
Securing the Line
Use reliable fishing knots to attach the line to the rod. The improved clinch knot is a popular choice for connecting line to the rod tip. Tie the line firmly, ensuring there is no slack. A tight line prevents tangles and provides better sensitivity when feeling for bites.
At the handle, you can wrap the line around the wood several times. Finish the wrap with a series of snug half-hitches to lock the line in place. This method creates a strong anchor point that holds under pressure. Your fishing rod is now ready to attach a hook and bait.
Step 4: Finishing and Treating the Rod
Finishing your fishing rod protects the wood from the elements and prolongs its life. Wood is vulnerable to water, sun, and dirt, so proper treatment is essential. A simple oil finish enhances the natural grain while providing a water-resistant barrier. This step transforms your rough stick into a durable tool.
Choose a natural oil like linseed oil or tung oil for the best results. These oils soak into the wood and harden over time, strengthening the structure. Apply the oil with a clean cloth, rubbing it into the surface thoroughly. Allow the rod to dry completely before using it in the water.
Maintaining Your Fishing Rod
After the first oil treatment, let the rod dry in a shaded area. Avoid exposing it to direct sunlight or heat sources during the drying process. Once dry, you can apply a second coat for extra protection. Regular maintenance keeps the wood from drying out and cracking.
Store your stick rod in a cool, dry place when not in use. Hanging the rod or laying it flat prevents bends and warping. If the wood feels rough over time, lightly sand it and apply another coat of oil. With proper care, your homemade fishing rod can provide years of service.
Step 5: Learning to Cast and Fish
Casting a stick rod requires a different technique than spinning or baitcasting gear. The lack of guides means you must control the line with your fingers. This method relies on feel and practice rather than complex mechanics. Mastering the cast is the final step to becoming proficient.
Hold the rod firmly near the handle with your dominant hand. Pinch the line lightly against the rod with your other hand. Swing the rod back and forward in a smooth motion, releasing the line at the end of the cast. The goal is to send the lure sailing forward without tangling the line.
Tips for Successful Fishing
Start in a clear, open area to practice your casting technique. Avoid trees and obstacles until you gain confidence. Once comfortable, attach a hook and bait to the line. Lower the lure into the water and wait for a bite. The stick rod’s flexibility will help you set the hook gently.
Be mindful of the line’s tension at all times. If the line goes slack, reel it in slightly to maintain contact with the lure. When you feel a strike, lift the rod steadily to set the hook. The natural taper of the rod will help you control the fish during the fight.
Common Challenges and Solutions
Beginners often struggle with line twist and tangles. To prevent this, ensure the line dries smoothly after wrapping. Avoid overlapping loops when casting, as they can knot up quickly. If a tangle occurs, stay calm and carefully work the line free without snapping the rod.
Another challenge is detecting subtle bites. Because the rod is flexible, you might feel slight taps or vibrations. Pay close attention to any change in pressure or movement. Patience and practice will improve your ability to hook fish consistently.
Conclusion
Learning how to make a fishing rod from a stick is a valuable skill that blends tradition with practicality. By following these steps, you can craft a functional fishing tool using natural materials. The process teaches patience, attention to detail, and respect for outdoor resources.
This DIY project reminds us that fishing is not just about technology, but also about ingenuity. A simple stick, when shaped with care, becomes an extension of the angler’s skill and intuition. Embrace the process, enjoy the craft, and experience the satisfaction of catching fish with your own handmade equipment.
FAQ
What is the best wood for making a stick fishing rod?
Hardwoods like ash, maple, and hickory are ideal because they are strong yet flexible. These woods handle stress well and provide the necessary taper for casting.
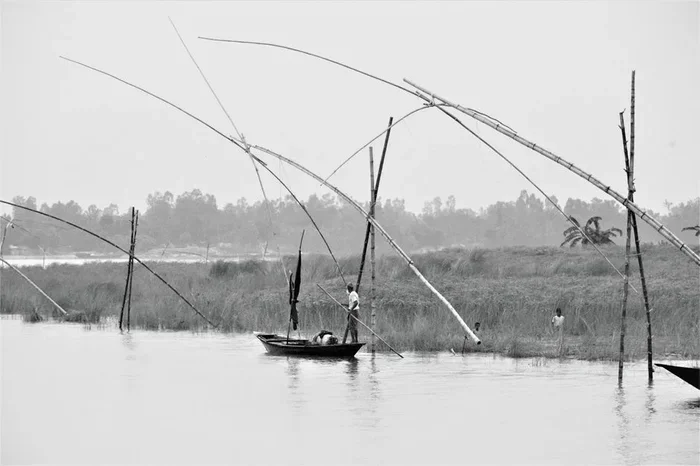
Visual guide about handmade bamboo fishing rod nature
Image source: images.pexels.com
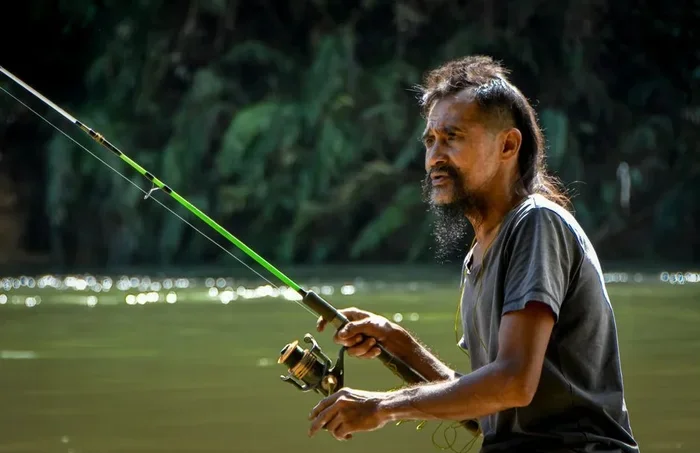
Visual guide about handmade bamboo fishing rod nature
Image source: images.pexels.com
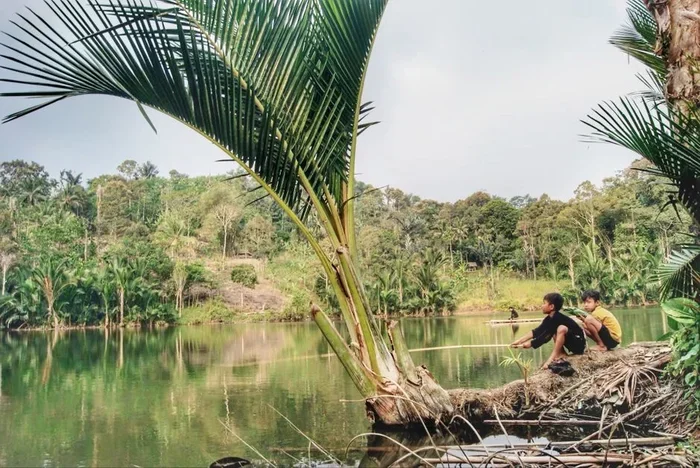
Visual guide about handmade bamboo fishing rod nature
Image source: images.pexels.com
Do I need special tools to build a stick fishing rod?
No, you only need basic tools such as a knife, sandpaper, and natural cordage. The simplicity of the tools makes this project accessible to beginners.
How do I attach the fishing line to a stick rod?
Use reliable knots like the improved clinch knot to tie the line to the rod tip. Wrap the line at the handle and secure it with tight half-hitches for a strong anchor.
Can I use green wood for my fishing rod?
Yes, green wood is often easier to shape because it is moist and flexible. However, you must dry and treat it properly to prevent cracking later.
How do I prevent my stick rod from breaking?
Choose healthy wood without cracks, shape the taper evenly, and apply a protective oil finish. Proper handling and storage also reduce the risk of breakage.
Is a stick fishing rod suitable for catching large fish?
While stick rods are effective for small to medium fish, they may lack the strength for very large species. Always consider the type of fish in your area before relying on a homemade rod.