How To Repair Fishing Rod: Pro Tips And Quick Fixes
Fix a fishing rod by replacing broken tips, guides, ferrules, and damaged wraps.
If you want a simple, proven way to learn how to repair fishing rod gear at home, you’re in the right place. I’ve fixed rod tips on the tailgate, rewrapped guides at camp, and rebuilt handles in my garage. In this guide, I’ll show you how to repair fishing rod parts step by step, with easy tools, real photos you can imagine, and methods rod builders use every day. Stick with me and you’ll know how to repair fishing rod damage fast, safe, and right the first time.
What breaks on a rod and how to spot it
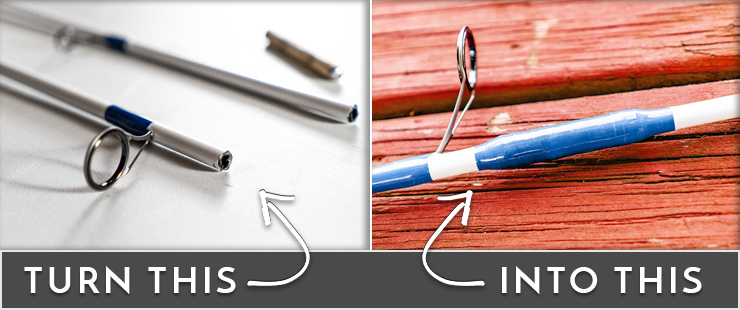
Before you start, find the true problem. This saves time and money.
Common issues:
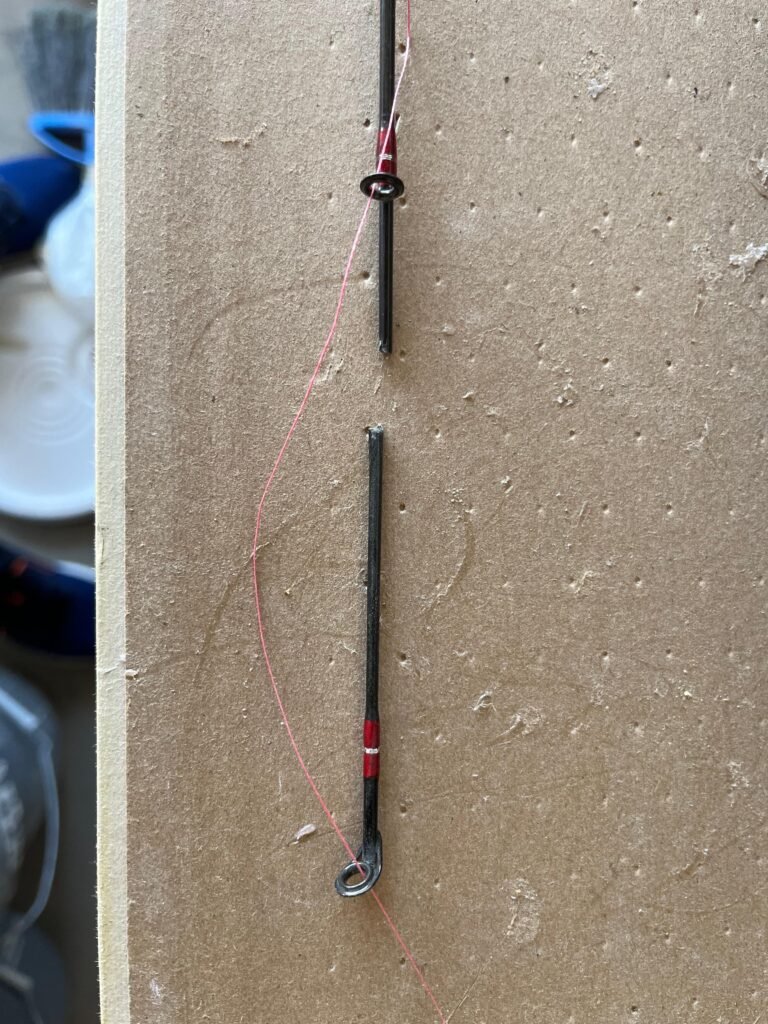
- Tip-top broken or bent The very last guide fails often.
- Cracked guide ring The ceramic insert chips and frays line.
- Loose or missing guide wrap Thread or epoxy gives out.
- Hairline crack in the blank Often near the tip or at stress points.
- Loose ferrule on a two-piece rod Joints wobble or seat poorly.
- Reel seat twist or handle damage Cork splits or EVA tears.
How to check:
- Run a cotton swab through each guide. If fibers snag, the ring is chipped.
- Flex the rod gently while listening for clicks. That hints at a crack.
- Fit rod sections. If they rock or spin, the ferrule is loose.
- Check alignment. Guides should track in one straight line.
Tools and materials you will need
You can repair most rods with simple tools and a few fishing-specific parts.
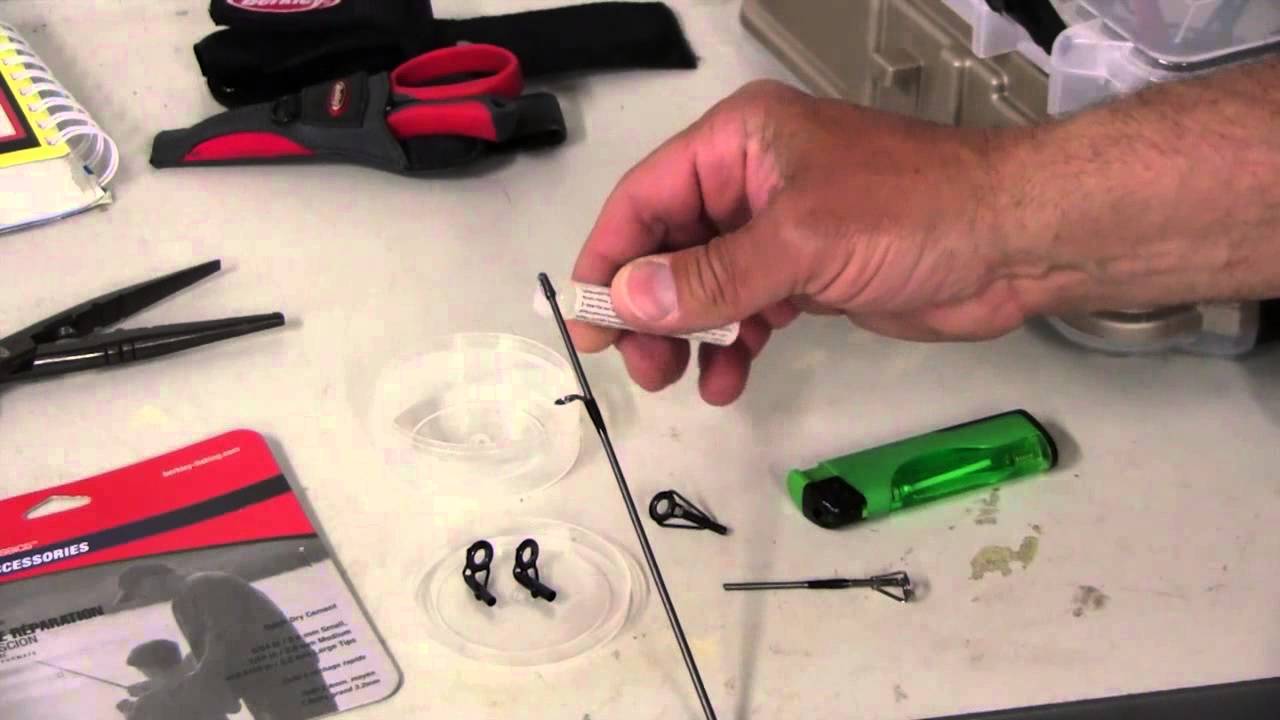
Core kit:
- Replacement tip-tops Match tube size to your blank tip.
- Tip-top glue or hot-melt adhesive Low-temp sticks work well.
- Guides and guide feet Match ring size and frame style.
- Thread for wraps Nylon or NCP thread in size A or D.
- Epoxy finish Two-part rod finish, slow cure is best.
- Rod-building tape Blue painter’s tape for layout.
- Fine file, razor blades, and small scissors Clean cuts and light prep.
- Cotton swabs, alcohol wipes, and paper towels Clean work and remove oils.
- Heat source A lighter or alcohol lamp for low, even heat.
- Sandpaper 400–600 grit for tiny scuffs only.
- Mask, gloves, and eye protection Safety first.
Nice to have:
- Calipers To size tip-top tube.
- Thread burnisher To smooth wraps.
- Drying motor Keeps epoxy level during cure.

Safety, prep, and workspace
Good prep makes clean repairs. It also keeps you safe.
Do this first:
- Work on a stable table with bright light.
- Wear gloves and eye protection when heating or cutting.
- Use low heat to avoid blank damage.
- Wipe the area with alcohol before epoxy or glue.
Pro tip from the bench: If you worry about heat, warm metal parts only. Keep the flame moving. Never hold direct flame on the graphite blank.
Step-by-step: how to repair a fishing rod tip
A broken tip-top is the most common fix. It is also the fastest.

Steps:
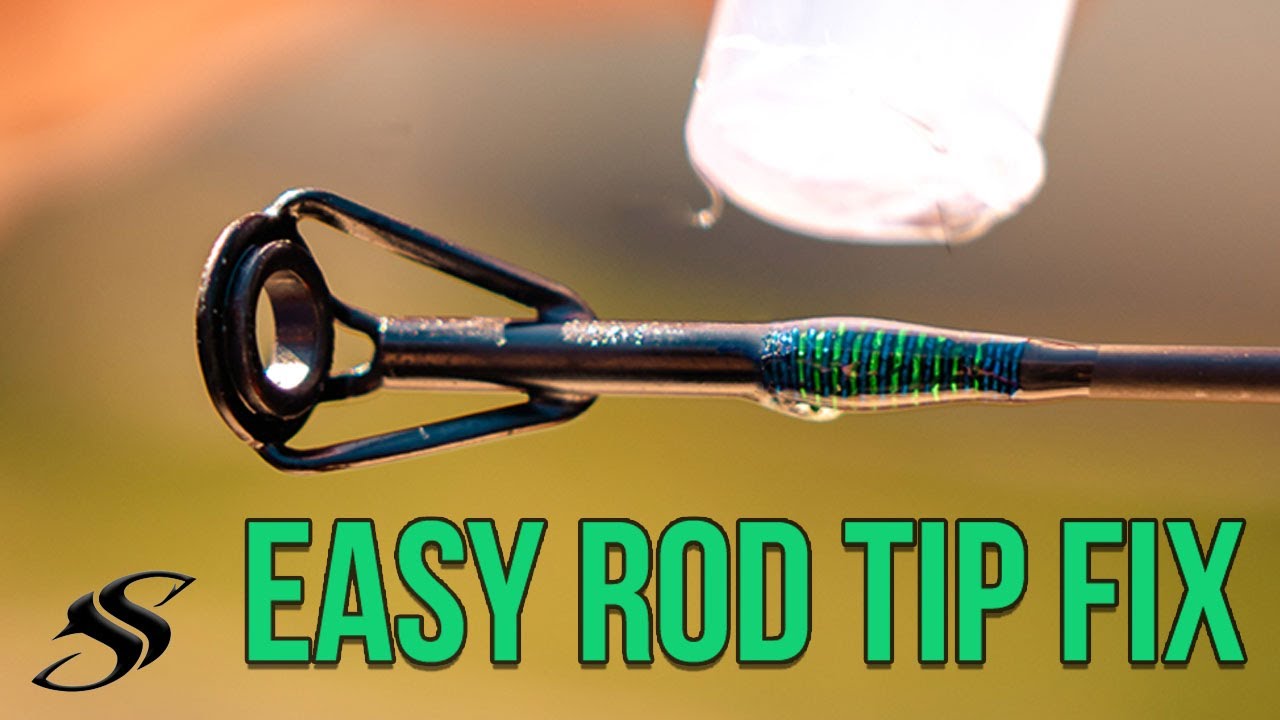
- Remove the old tip Warm the metal tip-top with a lighter for two to three seconds. Twist off with pliers.
- Size the new tip Measure the blank tip with calipers. Pick a tip-top with a snug tube.
- Add glue Heat a small stick of tip-top glue. Dab a thin film on the blank tip.
- Install the tip Align the tip-top with the guides. Slide it on while the glue is warm.
- Set alignment Sight down the rod. Adjust fast before glue cools.
- Cool and test Let it set for five minutes. Flex the tip and check the line path.
If you ask how to repair fishing rod tips on the water, carry a spare tip-top kit and a mini lighter. You can be back to casting in minutes.
Replace a damaged line guide and wrap
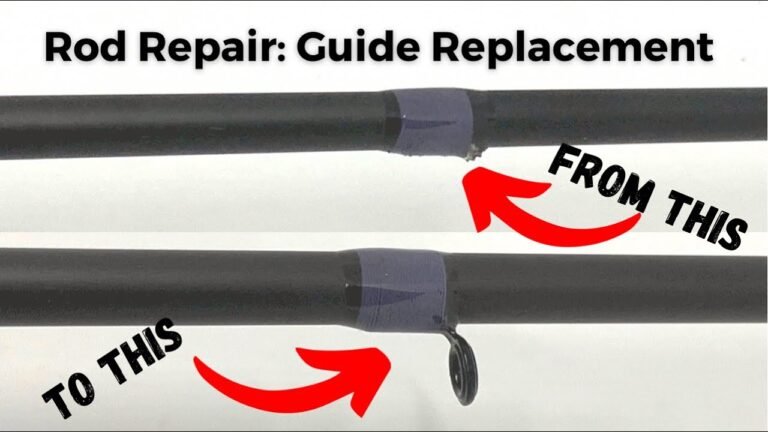
When a guide ring chips, your line pays the price. Replace it right away.

Steps:
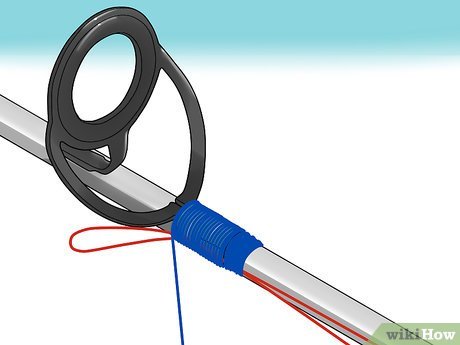
- Cut old wraps Use a razor to slice the finish on top of the guide foot. Peel thread off. Work slow to avoid cutting the blank.
- Clean the area Wipe with alcohol. Lightly scuff old epoxy edges with 600 grit.
- Tape the new guide Align the guide on the blank. Use two small tape tabs to hold it.
- Wrap the foot Start thread an inch before the foot. Wrap tight and even. Use a pull loop to bury the tag end.
- Seal the wrap Mix epoxy per label. Brush a thin coat over thread. Rotate the rod for 2–3 hours or use a drying motor.
- Cure Let it cure 12–24 hours. Check alignment and ring smoothness.
If you need a fast field patch, you can tape a guide on. But learn how to repair fishing rod guides at home for a strong, clean fix.
Fix loose ferrules and two-piece connections
Loose joints cause clicks and weak casts. Address them before they fail.

Try this:
- Clean both sides Wipe male and female ferrules with alcohol.
- Wax fit Use a tiny bit of paraffin on the male end. Seat with a firm twist.
- For worn spigot ferrules Use thin thread wraps near the end to build fit, then seal with a light epoxy coat.
If the ferrule is cracked, stop. Many cracks can spread. Learn how to repair fishing rod blanks below, or seek a pro if the damage is deep.
Seal hairline cracks and reinforce the blank
Small cracks near the tip can be stabilized. Large breaks need a sleeve.
For hairline cracks:
- Clean the area Wipe with alcohol and dry.
- Wrap a band Add a tight thread wrap one to two inches past the crack on both sides.
- Epoxy coat Brush on a thin, even coat. Rotate while it sets.
For a clean break or big split:
- Create a sleeve Use a short section from a donor blank or fiberglass tubing that fits over or inside.
- Prep the parts Lightly scuff sleeve and blank ends. Clean with alcohol.
- Glue and align Use slow-cure epoxy. Slide parts together with guides in line.
- Wrap and finish Add thread wraps over sleeve edges. Seal with epoxy.
- Cure and test Let it cure a full day. Flex test with gentle load.
Note: If the break is near the handle, a sleeve fix is often strong. If it is mid-blank under heavy load, results vary. When in doubt, ask a rod builder. This is where how to repair fishing rod work meets real limits.
Repair a loose reel seat or damaged handle
Seats can twist. Cork can chip. Both are fixable.
Reel seat twist:
- Remove the handle grip near the seat Cut old tape or EVA as needed.
- Inject epoxy Work slow-cure epoxy under the seat with a syringe.
- Realign and clamp Align with guides. Tape or clamp until cured.
Cork or EVA grip repair:
- Small pits Fill cork holes with cork dust and wood glue. Sand smooth after dry.
- Chunk missing Cut out a plug and glue in a new cork ring. Shape with fine sandpaper.
- EVA tear Use contact cement for small tears, or replace the section.
If you want a permanent fix and a fresh feel, a full regrip is a good time to learn how to repair fishing rod handles from scratch.
Finishing: wraps, epoxy cure, and alignment
Clean finish makes your repair last and look pro.
Key tips:
- Mix epoxy slow Stir for two to three minutes. Avoid bubbles.
- Thin coats are best Two light coats beat one thick coat.
- Keep it turning Use a drying motor or hand-turn every few minutes for two hours.
- Check alignment one last time Adjust within the first 10 minutes if needed.
- Cure time matters Most finishes reach full strength in 24–48 hours.
I learned this the hard way. I once rushed a heavy coat on a cold night. It sagged and trapped bubbles. Less is more. This is why how to repair fishing rod finish needs patience.
Prevention and care tips to avoid future repairs
Smart care beats any fix. It also saves your line and lures.
Do this after each trip:
- Rinse with fresh water Pay attention to guides and the tip.
- Dry before storage Moisture weakens wraps and seats.
- Check guides with a swab Catch chips before they shred braid.
- Break down two-piece rods Keep ferrules clean. Avoid grit.
- Store upright or flat in a rack Do not lean with weight on the tip.
Carry a small kit:
- Tip-top, glue, small lighter, tape, and a mini file
You will know how to repair fishing rod emergencies on the bank in minutes.
Cost, warranties, and when to replace vs. repair
Not every fix is worth it. Make a quick call with this guide.
Think about:
- Parts price A tip-top is a few dollars. A full guide set costs more.
- Time A clean wrap takes 20–40 minutes plus cure.
- Warranty Many makers cover breakage at a set fee. Check first.
- Sentimental value A favorite rod can be worth the effort.
- Safety If the blank is crushed or splintered, retire it.
Rule of thumb: Learn how to repair fishing rod tips and guides on most rods. For deep blank damage on budget rods, replacement may win.
Troubleshooting and common mistakes
Even careful work can go wrong. Use these quick fixes.
Problems and fixes:
- Epoxy sags Apply thinner coats. Rotate longer. Warm the room.
- Bubbles in finish Warm the mix cup bottom. Tick bubbles with a flame pass.
- Guide misaligned While epoxy is green, twist gently to center.
- Thread gaps Pack wraps tighter. Use a burnisher to smooth.
- Tip-top keeps twisting Use fresh glue and clean the blank with alcohol first.
If you still struggle with how to repair fishing rod wraps, record a short phone video of your steps. Small motions show what went wrong.
Frequently Asked Questions of how to repair fishing rod
How do I know if my rod blank is too far gone to fix?
If you see crushed fibers, long splinters, or deep soft spots, it is unsafe. Retire the rod or replace the section.
What glue should I use for a tip-top?
Use hot-melt tip-top adhesive for easy field work. For a permanent shop fix, a tiny amount of slow-cure epoxy also works.
Can I replace a guide without a drying motor?
Yes. Rotate the rod by hand every few minutes for two hours. Keep coats thin to stop sags.
How long should epoxy cure before fishing?
Most finishes are fishable in 24 hours and reach full strength in 48 hours. Check the label and the room temperature.
What thread size is best for guide wraps?
Size A gives a fine look and strong wraps for most freshwater rods. Size D is easier to handle and suits heavy guides.
Will heat damage my graphite rod?
Yes, too much heat can weaken fibers. Use brief, low heat on the metal tip-top only, and keep the flame moving.
How to repair fishing rod guides if I cannot match the exact size?
Pick the closest ring and foot size that fits the line flow. Re-space guides if needed to keep a smooth path.
Conclusion
You do not need a full shop to bring a favorite rod back to life. With a few parts, simple tools, and patience, you can master how to repair fishing rod tips, guides, ferrules, and even small cracks. Start with the easy wins, practice clean wraps, and keep your epoxy thin and honest. Your casts will thank you.
Ready to try your first fix today? Gather a tip-top kit, check your guides with a cotton swab, and make one small repair now. If this helped, share it with a fishing friend, subscribe for more how to repair fishing rod guides, and drop your questions in the comments so we can keep learning together.