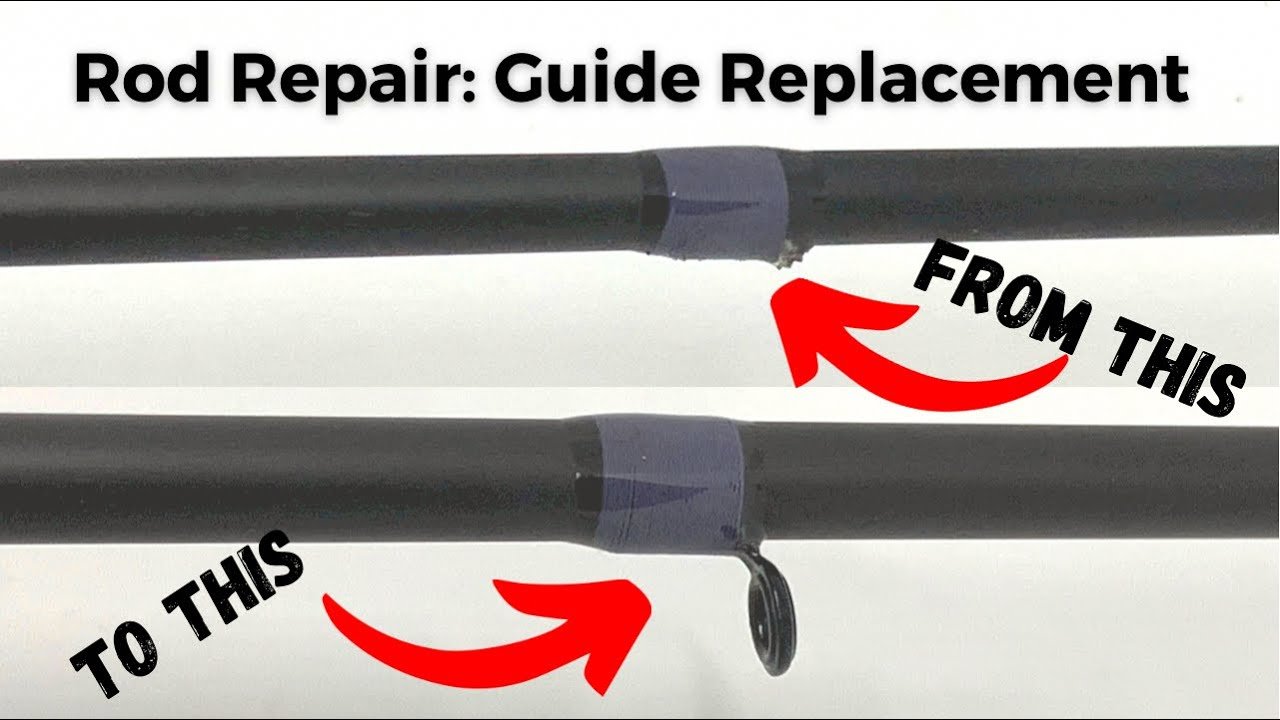
How To Replace Fishing Rod Guide: Step-By-Step Fix
Cut off the old wrap, fit a new guide, rewrap, and seal with epoxy.
If you want a clean, strong fix that casts true, you’re in the right place. I’ve repaired hundreds of rods in shops and on tailgates, and this step-by-step shows how to replace fishing rod guide the right way. You’ll learn the tools, the tricks, and the pitfalls to avoid. By the end, how to replace fishing rod guide will feel simple, even if it’s your first repair.
What a rod guide does and why it fails
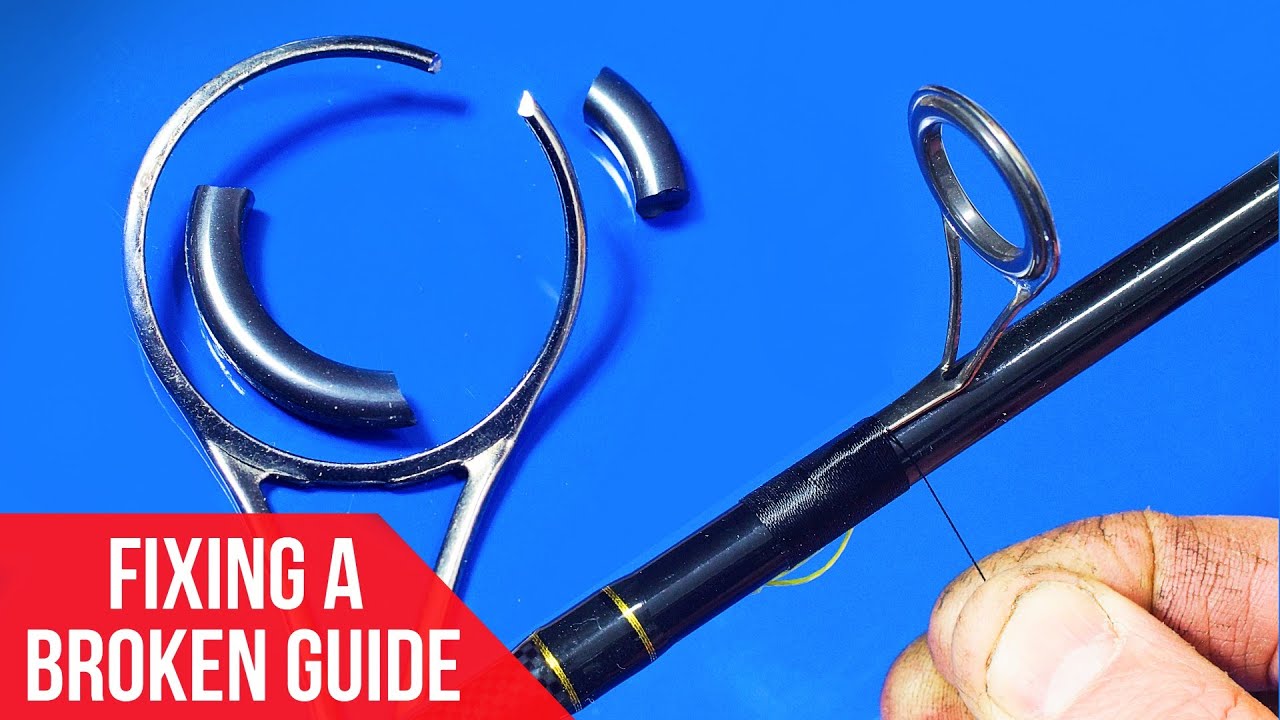
A guide is the rod’s steering system. It keeps line straight, spreads load, and cuts friction. When a guide breaks or scratches, your line suffers and casts get wild.
Guides fail for a few common reasons:
- Impacts from car doors, rocks, docks, or ceiling fans
- Corrosion on frames and feet, especially in saltwater
- Grooves from braid or sand if the insert is soft or damaged
- Old thread and epoxy cracking with age and UV
If you want the cast and fight to feel right, learning how to replace fishing rod guide is one of the best skills you can pick up. It saves money and keeps your favorite blank alive.
Tools and materials you need
For how to replace fishing rod guide, have these on hand:
- Replacement guide or tip-top that matches size and frame style
- Thread for wrapping, size A or D for most rods
- Two-part rod finish epoxy or one-part rod varnish
- Razor blade or hobby knife with fresh blades
- Masking tape, fine sandpaper, and alcohol wipes
- Small brush, burnishing tool, and a light source
- Optional but great: a rod dryer or simple turning cradle
- For tip-tops only: hot-melt tip-top cement or fast epoxy
- Safety gear: eye protection and gloves
You can do how to replace fishing rod guide on a kitchen table. Clear a bright, steady space and protect the surface with cardboard or a mat.
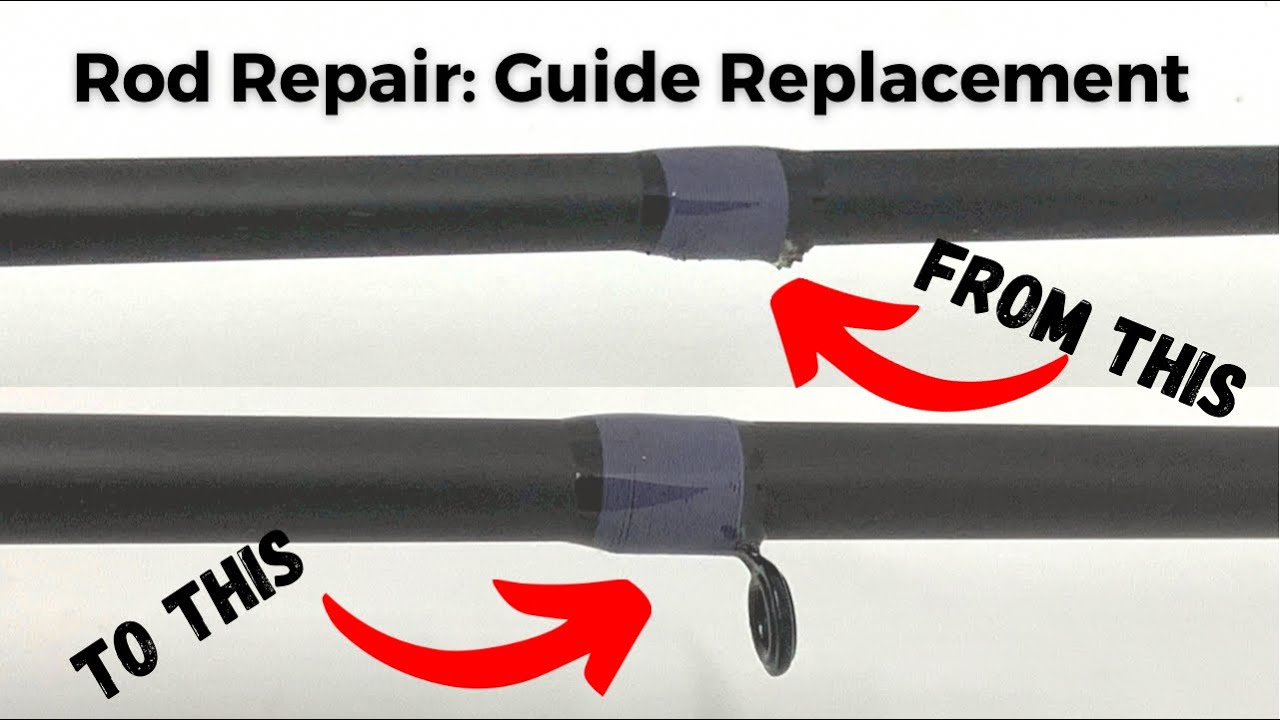
Step-by-step: how to replace fishing rod guide
This is the full, pro-level process I use for most spinning, casting, and fly rods. If you follow it once, how to replace fishing rod guide will make sense for life.
1) Diagnose and measure
- Inspect the blank for cracks around the damaged guide. Press gently and listen for tiny clicks.
- Measure the guide ring size and frame style. Compare to a nearby guide for match.
- Note the foot length and angle. Matching the footprint makes wrapping easier.
Tip from the bench: Photograph the rod before you begin. It helps you copy spacing and alignment.
2) Remove the old guide
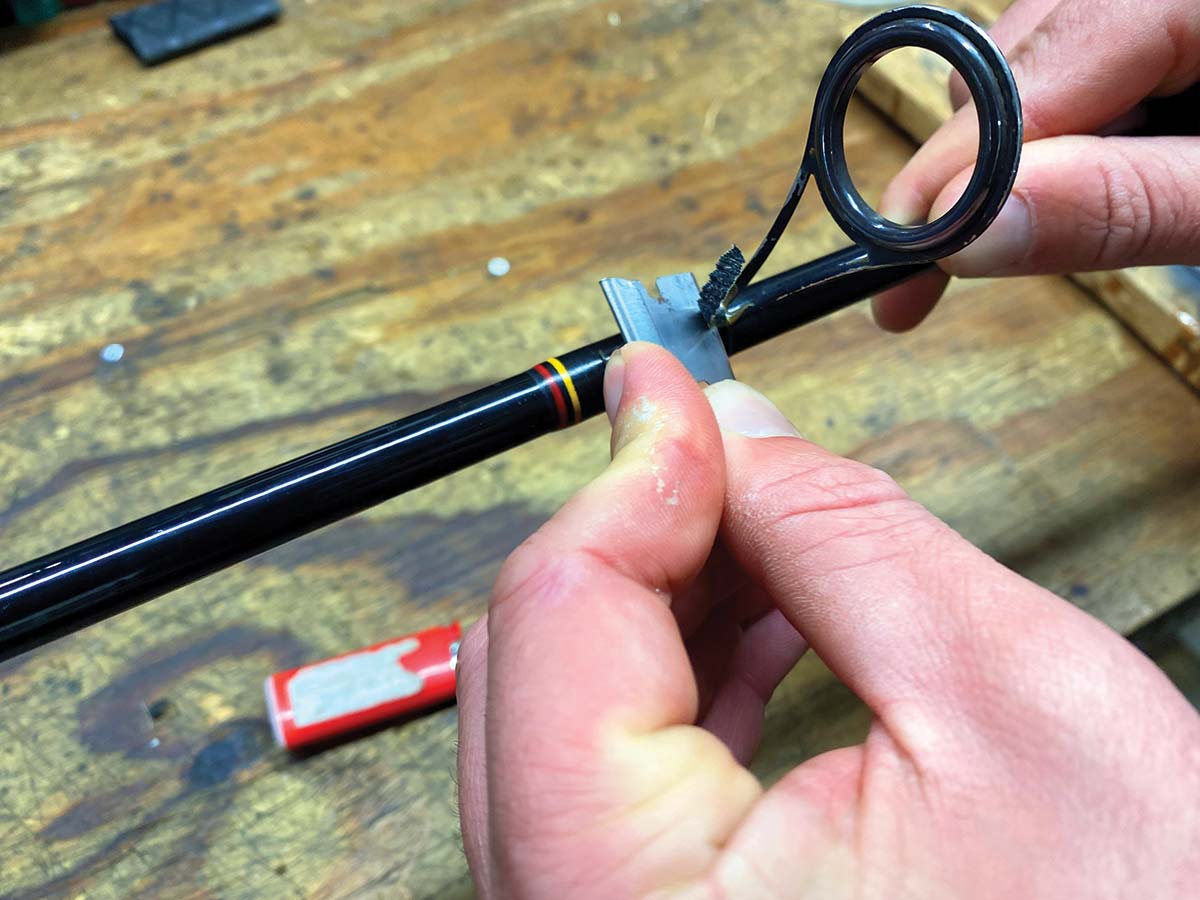
- Score only the epoxy and thread with a razor. Use light, shallow cuts along the foot.
- Peel the wrap with the edge of the blade or a needle. Take your time.
- Clean the area with alcohol. Avoid scraping into the blank’s fibers.
Heat is risky here. Too much heat can blister resins. I almost never use a flame on the blank.
3) Prep the new guide and blank
- Deburr the guide feet with a file. Taper the leading edge so thread climbs smoothly.
- Lightly scuff the foot tops so finish keys well.
- Wipe the blank with alcohol and let it dry.
4) Position and align
- Tape the guide in place with narrow strips of masking tape.
- Align the guide train by sighting from the butt to the tip. Rotate the blank, not your head.
- Do a quick static test: thread line, pull with light tension, and check that the line path is smooth.
This is where many repairs fail. Before you wrap, alignment must be perfect.
5) Wrap the guide
- Start the thread 1 inch before the foot. Secure the tag with tight, even turns.
- Climb the tapered foot with firm tension. No gaps. No crosses.
- Insert a pull loop near the end. Cut the working thread. Pull the tag under the last 6 to 8 wraps.
- Burnish lightly to smooth the pack.
Use steady, gentle tension. If you dent thread, you are pulling too hard.
6) Seal and finish
- Mix two-part finish as directed. Most use equal parts by volume. Stir for at least two minutes.
- Apply a thin coat. Rotate the rod as you brush. Avoid puddles and sagging.
- Wick off excess with the brush edge while rotating.
A thin first coat beats a thick mess. You can add a second coat after partial cure.
7) Cure and test
- Turn the rod for 2 to 3 hours if you have a dryer. If not, rotate by hand every 5 to 10 minutes for an hour.
- Let cure 24 to 48 hours at room temp per product directions.
- Flex test, then cast in the yard. Listen and feel for any ticks or line rub.
After one full repair, you will know exactly how to replace fishing rod guide the next time in half the time.
Special case: replacing a tip-top guide
Tip-top swaps are fast and friendly. If you only need the tip fixed, this mini-process for how to replace fishing rod guide at the tip will have you fishing in minutes.
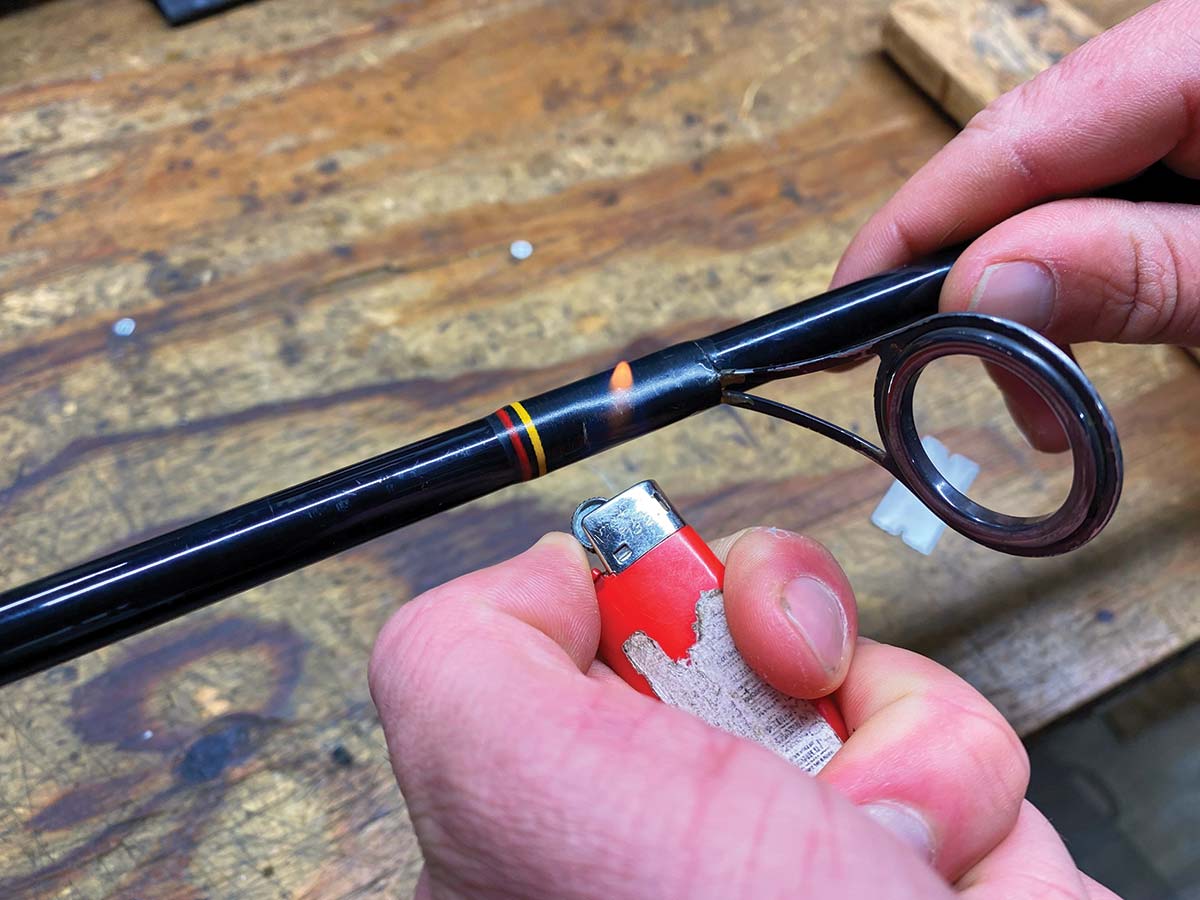
- Warm the old tip-top gently. Use a lighter waved under it for one to two seconds at a time.
- Twist and pull straight off with pliers, protecting the frame with a cloth.
- Heat a sliver of tip-top cement. Fill the new tube and slide it on fast.
- Align to the other guides. Hold straight for 10 to 15 seconds as it cools.
Carry a spare tip-top kit in your bag. It is the best on-the-water insurance.
Choosing the right replacement guide
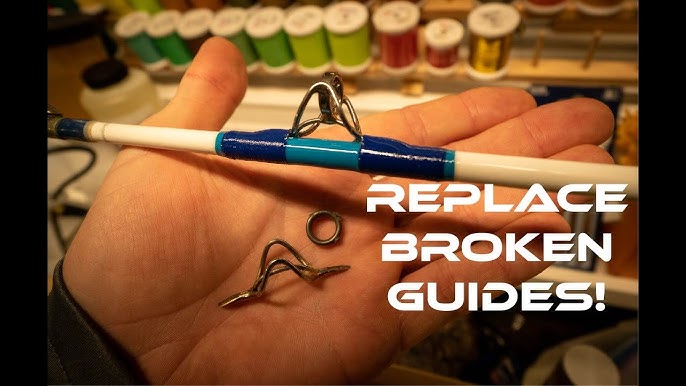
Not all guides are equal. For how to replace fishing rod guide that lasts, match materials and sizes to your fishing style.
- Frame metals: Stainless is budget friendly. Titanium resists corrosion and is light.
- Ring materials: Hard ceramics handle braid and heat. Silicon carbide and similar options are very slick and durable.
- Frame style: Single-foot guides are light and common on spinning and fly rods. Double-foot guides are stronger for heavy loads.
- Size: Match ring diameter and foot length to neighbors. Use a size chart or calipers.
I choose lighter, harder rings for braid and frequent casting. For trolling or heavy mono, durability matters more than weight.

Alignment, spacing, and the static test
Even spacing is not enough. You want the line to follow a smooth curve under load.
- Thread a line through all guides.
- Hang a small weight or pull by hand to mimic a fish.
- Adjust guide positions so the line arc is even, with no sharp angles.
Do this before finishing any wraps. It is the most accurate way to nail how to replace fishing rod guide with factory-level performance.

Common mistakes and easy fixes
I have made every mistake once. Here is what to avoid when learning how to replace fishing rod guide.
- Too much epoxy: Sags, bubbles, and long cure times. Fix by applying thin coats.
- Overheating the blank: It weakens resin. If you see gloss turn dull, stop and cool.
- Misalignment: Check three times before finishing. Use a door frame as a straight reference.
- Rough guide feet: Snags thread. File and polish until thread climbs like a ramp.
- Cutting into the blank: Use tiny, shallow cuts on old wraps only.
If a wrap looks bad, cut it off and redo. Ten extra minutes now saves a season of regret.

Field repair vs shop repair
Sometimes you just need to fish today. You can do how to replace fishing rod guide the right way at home, but quick fixes help in a pinch.
- Temporary: Tape a guide or zip-tie it in place. Wrap with dental floss and a dab of super glue.
- Permanent: Use proper thread, epoxy, and careful alignment at home.
Temporary fixes are for the day only. Replace them with a real wrap as soon as you can.
Care, maintenance, and when to replace the rod
Smart care means you do how to replace fishing rod guide less often.
- Rinse with fresh water after each trip, especially in salt.
- Wipe guides with alcohol to remove grit.
- Check rings with a cotton swab. If it snags, the ring is chipped.
- Replace the rod if you find deep blank cracks or soft, pulsing spots.
If the blank is sound, a fresh guide makes it feel brand new.
Cost, time, and skill curve
Plan your first how to replace fishing rod guide to take an evening.
- Cost: 3 to 20 dollars per guide, more for premium titanium.
- Supplies: 10 to 25 dollars in finish and thread covers many repairs.
- Time: 30 to 60 minutes to wrap. 24 to 48 hours to cure.
By your third repair, you will do the work in half the time with cleaner wraps.
Troubleshooting finish and wrap issues
Little problems have simple fixes when doing how to replace fishing rod guide.
- Bubbles: Warm the finish cup gently and exhale across wraps. Thin coats help.
- Fisheyes: Clean surfaces with alcohol. Avoid silicone rags and oily hands.
- Silvering in thread: Pack tighter and burnish. Use color preserver if needed.
- Buzzing noise when casting: Check a loose foot or cracked ring. Rewrap or replace.
Keep notes on what worked. Your next repair will be even better.
Frequently Asked Questions of how to replace fishing rod guide
How do I pick the right size guide?
Match the ring size and foot length to the closest intact guide. If unsure, bring the rod to a shop or measure with calipers for a perfect fit.
Can I use super glue instead of rod finish epoxy?
Use super glue only for a quick field wrap. For a durable, flexible seal that resists UV and water, use a proper two-part rod finish.
How long should I let the epoxy cure?
Most rod finishes set in 6 to 8 hours and fully cure in 24 to 48 hours at room temperature. Follow the label and avoid cold rooms, which slow cure.
Do I need a rod dryer to get a smooth finish?
A dryer helps but is not required. Rotate the rod by hand every few minutes during the first hour, then every 10 to 15 minutes until set.
What thread should I use for wrapping guides?
Size A is common for light to medium rods and gives a neat look. Size D is thicker and easier for beginners, especially on heavy rods.
Will a new guide change how my rod casts?
If you match size, height, and alignment, casting should improve or feel the same. The biggest gains come from smooth rings and straight alignment.
Is replacing a tip-top easier than other guides?
Yes. A tip-top swap takes minutes with hot-melt cement. Side guides take longer because they need a full thread wrap and finish.
How can I prevent thread gaps while wrapping?
Use steady tension and pack each turn with a fingernail or burnisher. If a gap shows, back up a few turns and rewrap that section.
Can I repair a guide on a two-piece travel rod?
Yes. The process is the same, but protect the ferrule. Keep wraps clear of the joint so the sections still seat fully.
What if I cut into the blank by mistake?
Stop and inspect. If it is a light surface scratch, seal with finish. If fibers are cut, consult a builder about a sleeve repair or retire the rod.
Conclusion
You now know how to replace fishing rod guide from first cut to final cure. With the right parts, gentle hands, and careful alignment, a broken guide becomes a simple evening project that pays off for years.
Set up your space, pick a practice rod, and give it a try. The first wrap teaches a lot, and the second one looks pro. If this helped, share it with a friend who has a wounded rod, subscribe for more hands-on fixes, or drop your questions in the comments so we can tackle them together.